
Supply chain issues may cause delays.
Click for details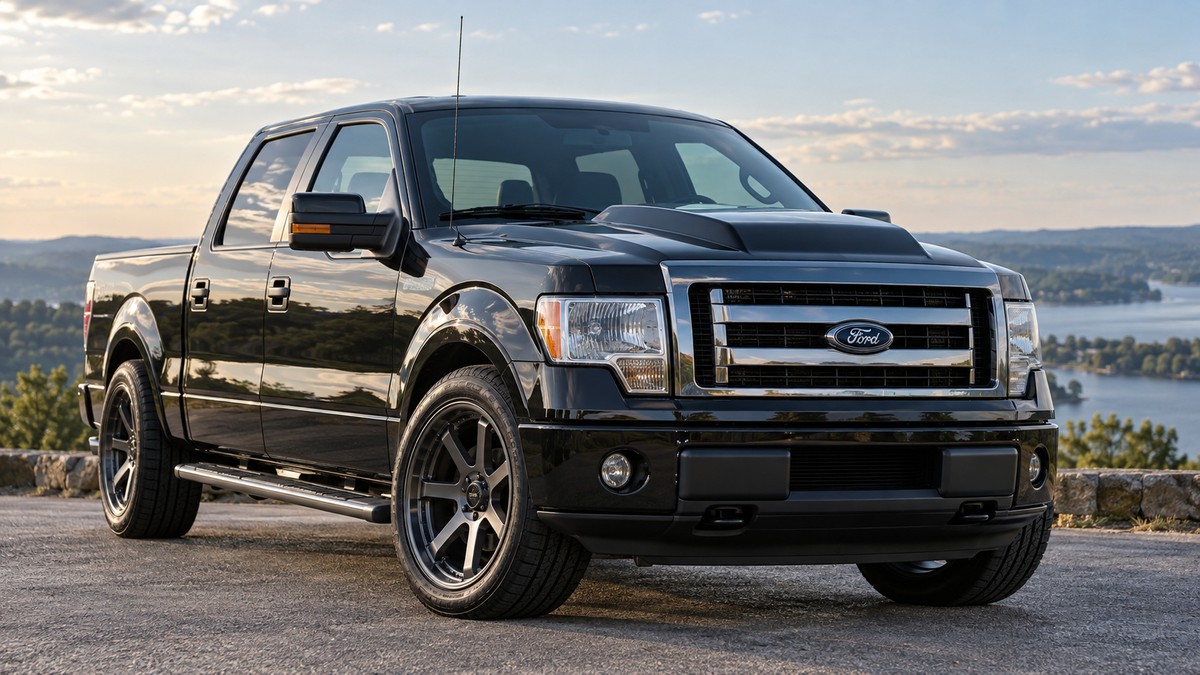
Installing a custom hood is one of the quickest ways to change the personality of a 2009–2014 Ford F-150. A raised cowl adds definition to the front end, creates a more performance-oriented appearance, and can complement everything from a mild street truck to a heavily customized build.
But buying an 09-14 F150 cowl hood should not begin with appearance alone.
A hood is a large body panel that must work with the truck's existing hinges, latch, fenders, grille, and surrounding sheet metal. It also needs to survive freight shipping, be properly test-fitted, and receive the right preparation before paint.
Before placing an order, work through this checklist so you know what to inspect, measure, and plan for.
Start with the basics.
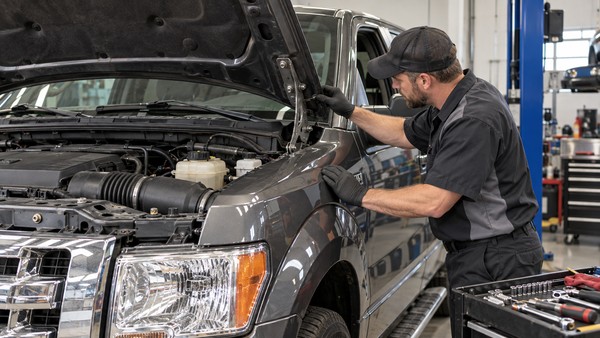
The hood needs to be designed for the correct generation of F-150. The 09-14 F150 cowl hood category from Carolina Classic Trucks is specifically intended for 2009–2014 Ford F-150 trucks.
Still, inspect the individual truck before ordering.
Confirm:
This matters even more on a truck that has been repaired after a collision. Replacement fenders, core supports, or other front-end components may already be slightly out of alignment.
A new hood cannot correct a crooked front end by itself.
The hood should support the style of the entire truck.
A moderate cowl can work well on an F-150 with factory-style bodywork, upgraded wheels, or a subtle suspension change. A more dramatic design may fit better on a truck with extensive exterior and performance modifications.
Before choosing, consider:
A hood that looks impressive by itself may look oversized once installed on an otherwise stock truck.
For many street-driven F-150s, a 2-inch cowl provides enough visual change without dominating the front end.
Appearance is usually the main reason for the upgrade, but some owners are also looking for extra underhood space.
Those are two different goals.
If you're buying the hood strictly for styling, focus on shape, height, and how the design complements the truck.
If you need additional engine clearance, measure before ordering.
A raised exterior cowl does not necessarily provide the same amount of usable space underneath. Inner hood bracing and the location of the raised section affect clearance.
Measure the highest point of the engine setup and identify exactly where it sits beneath the hood.
This becomes especially important with:
Never assume a 2-inch exterior cowl automatically gives two extra inches everywhere in the engine compartment.
Before spending money on a new hood, inspect the components that will support it.
Look closely at the:
Open and close the original hood several times.
Does one side rise differently from the other?
Does the hood shift while opening?
Does it require excessive force to latch?
Are the gaps already uneven?
Those problems could indicate worn hardware or existing alignment issues.
Installing a new hood on damaged hinges can make a properly manufactured panel appear to fit incorrectly.
Replacing questionable hardware before final installation can save considerable frustration.
Large steel hoods normally require truck freight rather than regular parcel shipping.
That means someone should be prepared to receive and inspect the shipment properly.
When the hood arrives, do not simply look at the outside of the box and sign.
Inspect for:
Pay particular attention to vulnerable areas of the hood itself:
Photograph anything questionable immediately.
Following freight inspection procedures is particularly important with body panels because even relatively minor shipping damage can create significant bodywork later.
The most important installation rule is simple:
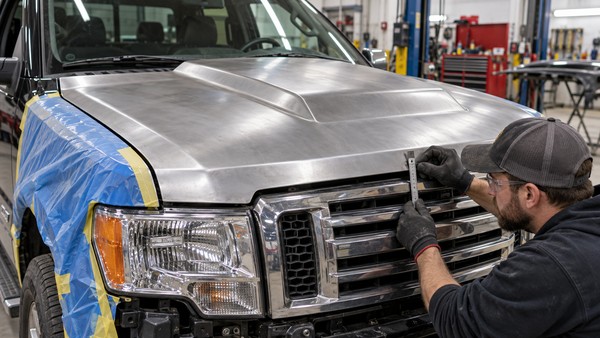
Do not paint the hood before test-fitting it.
Mount the unfinished hood to the truck first.
Then evaluate:
Adjustment is normal.
Large panels amplify small changes, so moving a hinge slightly can noticeably alter the front corner.
If the hood does not latch correctly, do not force it shut. Correct the alignment first.
Because of the size and weight of a steel truck hood, having another person assist with removal and installation is also a good idea. Protect the fenders before beginning.
Sometimes a replacement hood gets blamed for a fitment problem that actually comes from another panel.
During the test fit, compare the hood with:
Measure panel gaps rather than judging everything from several feet away.
If one fender sits higher than the other or the grille has been pushed slightly out of position, correcting those issues may be necessary before the hood can be aligned properly.
This is particularly relevant on older trucks that have accumulated years of repairs.
A new steel hood is not necessarily a paint-ready panel.
After fitment has been confirmed, normal preparation may include:
Let the body shop decide how the existing protective coating should be prepared.
You should also decide what you want done with the underside.
Body-color finishing creates a polished appearance when the hood is open. A simpler durable coating may be perfectly appropriate for a truck that is primarily a daily driver.
A freshly painted cowl hood can make faded or misaligned surrounding components stand out more than they did before.
While the hood is off, inspect:
You do not have to replace everything.
Often, cleaning, restoring, polishing, or realigning the existing parts is enough.
If the hood is only one stage of a larger project, plan your custom truck parts purchases around the finished design rather than buying modifications independently.
The purchase price is only one part of the project.
Your total cost may also include:
Building these expenses into the budget from the beginning provides a much more realistic picture of what the upgrade will cost.
It can also help you decide whether the hood should be installed now or coordinated with other planned paint and bodywork.
Before ordering, avoid these common errors:
Most hood-installation problems become much easier to prevent when you address them before the panel reaches the paint booth.
An 09-14 F150 cowl hood can make a substantial difference in the appearance of a 2009–2014 Ford truck, but the best results come from planning beyond the hood itself.
Confirm the application. Decide what style fits the truck. Measure carefully if clearance matters. Inspect the existing hardware. Prepare for freight delivery. Test-fit everything before paint.
Those steps aren't as exciting as seeing the finished truck, but they're what help create a result that looks professional once everything is assembled.
A properly selected and installed cowl hood should look like a deliberate part of the F-150—not an oversized accessory added at the end of the project.
Verify the model year and front-end configuration, inspect the existing hinges and latch, check surrounding panel alignment, and decide whether you need the hood primarily for styling or additional clearance.
Some adjustment should be expected with large replacement body panels. Test-fitting allows the installer to correct hinge position, latch alignment, hood height, and panel gaps before the hood is painted.
It is better to separate the process. Install and carefully test-fit the hood first. Once alignment and operation are confirmed, remove it for proper surface preparation and paint before completing the final installation.
Can't find what you need for your Classic Vehicle? Give us a call at: (336) 337-2132
