
Supply chain issues may cause delays.
Click for details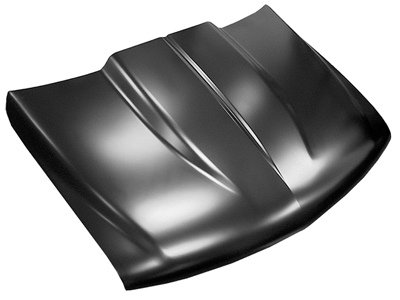
A cowl hood can completely change the appearance of a Chevy Tahoe. It adds a more aggressive profile, gives the front end additional character, and can help tie together other exterior upgrades such as custom wheels, a revised stance, or updated lighting. However, buying a 1999 Chevy Tahoe cowl hood requires more preparation than simply choosing the design that looks best in a product photo.
Fitment is particularly important with vehicles built around a model-year transition. Depending on the exact truck or SUV, the model year on the title may not tell you everything you need to know about the body style, front-end sheet metal, hinges, latch location, and surrounding components. Before ordering a hood, owners should confirm the vehicle’s actual configuration and understand what will be involved in shipping, test-fitting, finishing, and installation.
A careful buying process helps prevent one of the most frustrating mistakes in an exterior build: receiving a large body panel only to discover that it does not match the vehicle.
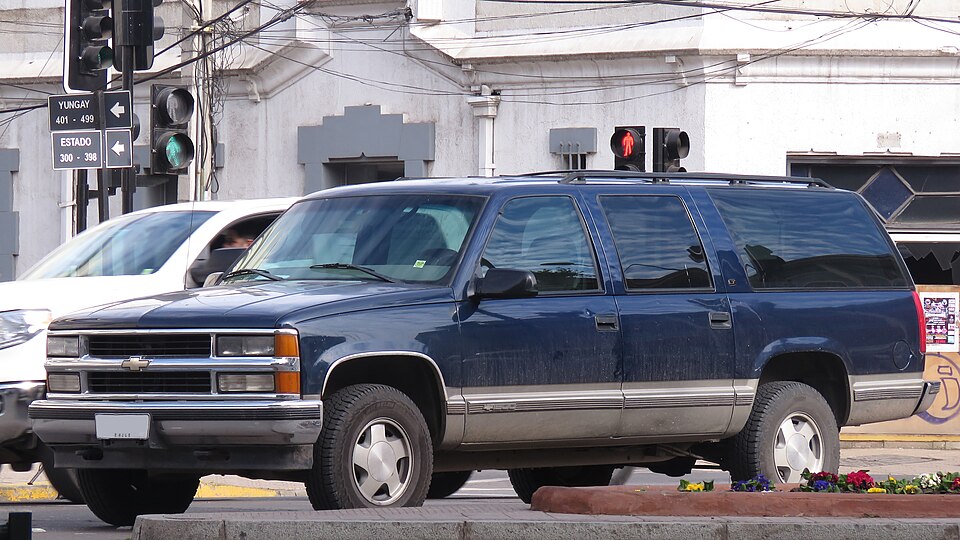
RL GNZLZ from Chile, CC BY-SA 2.0, via Wikimedia Commons
The most obvious reason to install a cowl hood is appearance. A raised center section gives the Tahoe a more performance-oriented look without requiring changes to the grille, bumper, or fenders. It can make an otherwise stock front end stand out while still looking appropriate for the body lines of the vehicle.
A cowl hood may also provide additional clearance in some modified engine compartments. That does not mean every cowl hood automatically creates usable clearance for every intake, air cleaner, or engine swap. The height and shape of the underside structure matter just as much as the visible cowl on top. Builders working with modified engines should measure carefully rather than assuming that the raised exterior guarantees the necessary space underneath.
For most Tahoe owners, though, the upgrade is primarily about styling. It works especially well on street trucks, sport-oriented SUV builds, restomods, and vehicles with other subtle exterior changes.
The first step is identifying the exact vehicle. The phrase “1999 Chevy Tahoe” can create fitment confusion because Chevrolet trucks and SUVs went through major styling transitions around this period. A hood designed for one front-end generation will not necessarily fit another, even when the model years appear close in a search result.
Start by checking:
Do not rely only on the title year or a seller’s casual description. Older trucks and SUVs sometimes receive replacement front clips, grille conversions, or collision repairs that change which exterior panels they need.
The safest approach is to compare your vehicle directly with the application information and product images for the 1999 Chevy Tahoe cowl hood. When there is any uncertainty, contact the supplier before placing the order. A few minutes spent verifying the application can prevent expensive freight and return complications.
An aftermarket hood is generally not a finished, ready-to-drive cosmetic part. It should be treated as a body panel that needs inspection, test-fitting, preparation, and paint.
Even a well-manufactured hood may require normal body-shop work before it matches the vehicle perfectly. The installer may need to adjust hinge positions, latch alignment, panel gaps, bump stops, and nearby components. Surface preparation is also important because shipping coatings are typically intended to protect the panel temporarily rather than serve as the final paint foundation.
A proper installation process normally includes:
Skipping the test-fit stage can become an expensive mistake. Once a hood has been painted or modified, resolving a fitment concern becomes more difficult.
Hoods are large panels that are commonly transported by truck freight rather than a standard parcel carrier. That makes delivery inspection an important part of the purchase.
Be ready for the delivery whenever possible. Look over the box or crate for punctures, crushed corners, tears, or signs that something heavy was placed against it. More importantly, inspect the actual hood before accepting the shipment when the carrier and supplier instructions require it.
Pay particular attention to:
Take photographs while the shipment is being inspected. If there is serious freight damage, follow the seller’s instructions before signing the delivery paperwork. Signing first and discovering damage later can make a freight claim much more complicated.
This step is easy to overlook when you are excited to receive a new part, but careful inspection protects both your project and your budget.
Never assume a replacement hood is ready for paint simply because the part number appears correct. Test-fitting confirms both compatibility and alignment.
It is helpful to have at least two people available because a hood is large, awkward, and easy to damage. Protect the fenders and cowl with appropriate covers before removing the original panel. Marking the original hinge positions may also provide a useful starting point during installation.
Once the new hood is in place, check the gaps on both sides. The spacing should be visually consistent, and the panel should sit at the correct height relative to the fenders. Open and close it slowly while watching the rear corners and latch area. Do not force the hood closed if it is contacting another panel or if the latch is not aligned.
The bump stops may need adjustment to prevent movement and help the hood sit flush. Hinges that are worn, bent, or loose can also make a good hood appear to fit poorly. Inspecting and correcting the supporting hardware is often part of achieving a professional result.
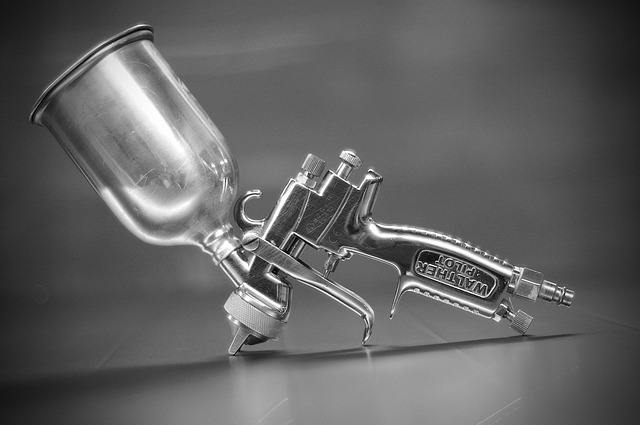
The quality of the final finish depends heavily on preparation. A body shop should inspect the panel, address any minor shipping or manufacturing imperfections, and prepare the surface according to the paint system being used.
The hood may need:
Color matching can be difficult on an older Tahoe, particularly when the existing paint has faded. Matching only the original paint code may not produce a perfect visual match after decades of sun exposure and previous repairs. A qualified paint shop can evaluate the current finish and determine whether blending adjacent panels is necessary.
Decide beforehand whether the underside will be painted body color, finished in a contrasting color, or given a simpler protective coating. Making that choice before the body shop begins helps avoid rushed decisions later.
A cowl hood draws attention to the front of the vehicle. That can also make worn surrounding parts more noticeable. Before installation, inspect the grille, headlights, bumper, filler panels, emblems, and weatherstripping.
You do not necessarily need to replace everything. However, restoring faded lights or correcting a misaligned grille while the hood is off may produce a more complete result. Owners exploring additional custom truck parts should still avoid changing too many exterior elements without a plan. A Tahoe often looks best when the upgrades complement one another instead of competing for attention.
The height of the cowl should also fit the intended style. A moderate design can add personality to a street-driven Tahoe, while a more dramatic hood may suit a highly customized build. The best choice is not always the largest cowl available. It is the one that matches the proportions and purpose of the vehicle.
The most expensive problems usually begin before installation. Common mistakes include:
Most of these problems are preventable. Accurate vehicle identification, careful measurement, and realistic installation expectations make the project much easier.
For an owner who wants a stronger, more distinctive front-end appearance, a cowl hood can be an excellent upgrade. It changes the Tahoe’s profile without requiring a complete body redesign and can work with everything from a mostly stock street vehicle to a more extensive custom build.
The key is purchasing it as a body component rather than treating it like a simple bolt-on accessory. Verify fitment, inspect it at delivery, test-fit it before paint, and allow time for proper alignment and finishing. Following those steps gives the hood the best chance of looking like a natural part of the vehicle instead of an afterthought.
No. Model-year transitions, body styles, and previous front-end modifications can affect compatibility. Verify the vehicle’s exact configuration, compare its front-end design with the product application, and confirm fitment with the supplier before ordering.
An experienced owner may be able to handle the initial installation and alignment, but professional bodywork and painting are usually recommended for the best finish. The hood should always be test-fitted before final paint is applied.
A cowl hood is often installed mainly for styling or additional clearance. It should not be assumed to improve performance unless the hood and intake system are specifically designed to work together and direct usable airflow to the engine.
Can't find what you need for your Classic Vehicle? Give us a call at: (336) 337-2132
